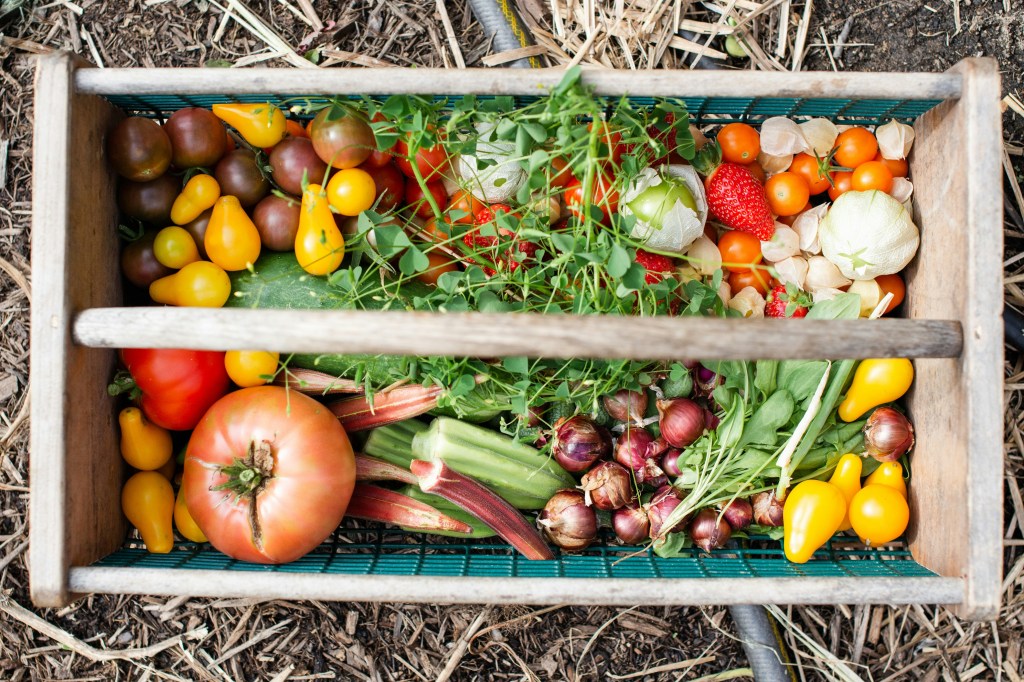

There’s something deeply satisfying about saving seeds from your own garden.
It’s more than just a way to save money—it’s a way to carry a little piece of this year’s garden into the next.
Whether you’re growing tomatoes in raised beds or zinnias along your fence line, seed saving lets you create a garden that’s uniquely yours, season after season.
And the best part?
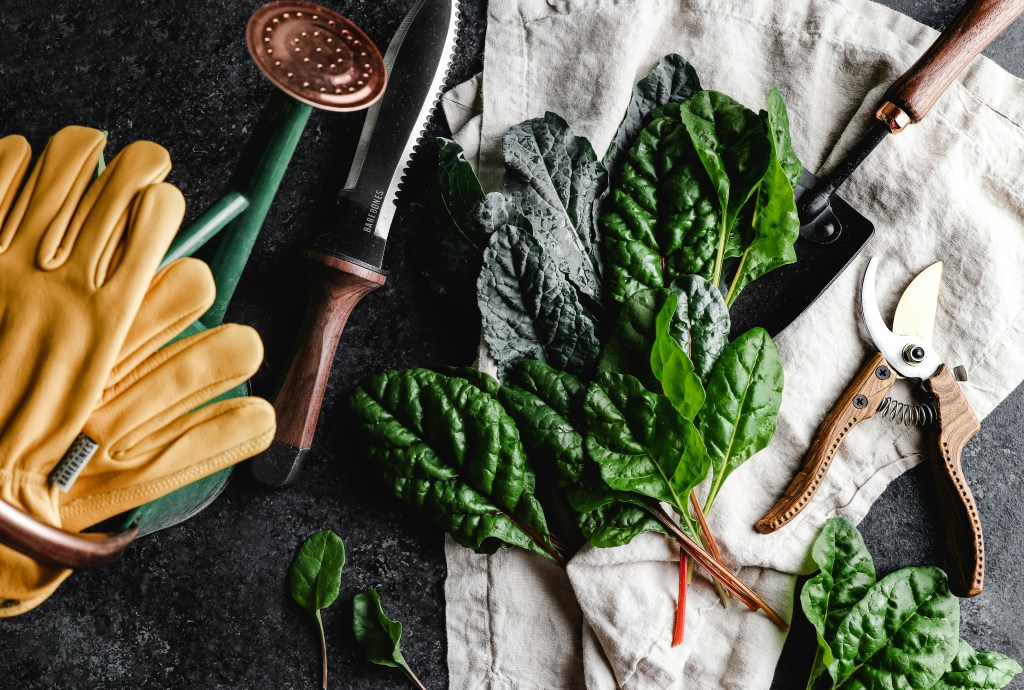
Anyone can do it—with just a few tools, and a little know-how. I’ll give you all the tools and information you need to get it done.
We’ll chat about why gardeners save seeds, which seeds to save and the process to preserve them.
Let’s dive on in….
Why Save Seeds?
To Save Money! Need I say more?
No need to buy new seeds every season.
Preserve Local Adaptation.
Your plants naturally adapt to your soil and climate—saving seeds helps strengthen those traits year after year.
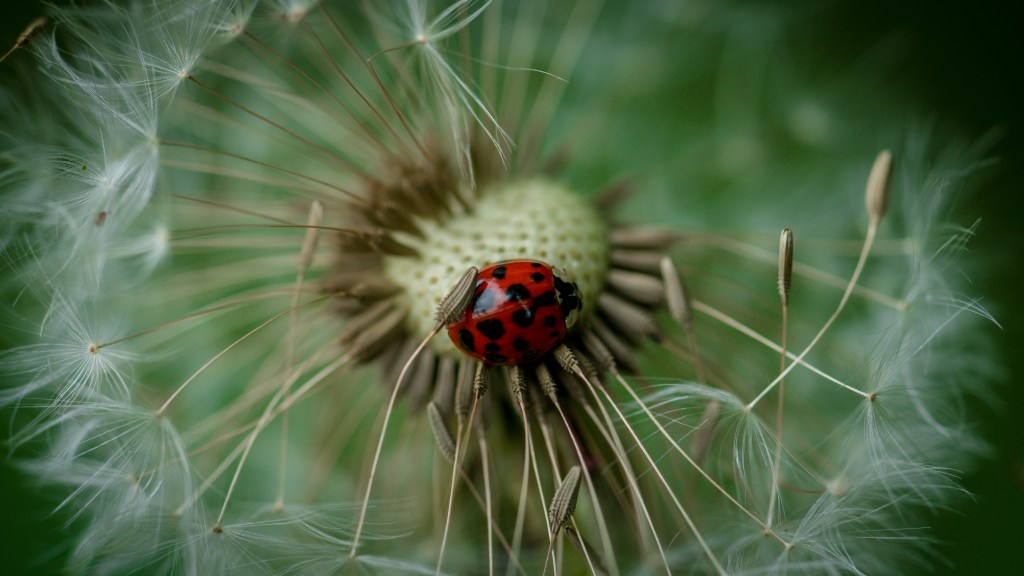
Support Biodiversity.
Heirloom and open-pollinated seeds help preserve genetic diversity in our food system.
Best Plants to Start With
Start simple.
These garden favorites are easy for beginners to save seeds from:
| Plant | Seed Saving Level | Tips |
|---|---|---|
| Tomatoes | Easy | Let fruit fully ripen, then scoop & dry |
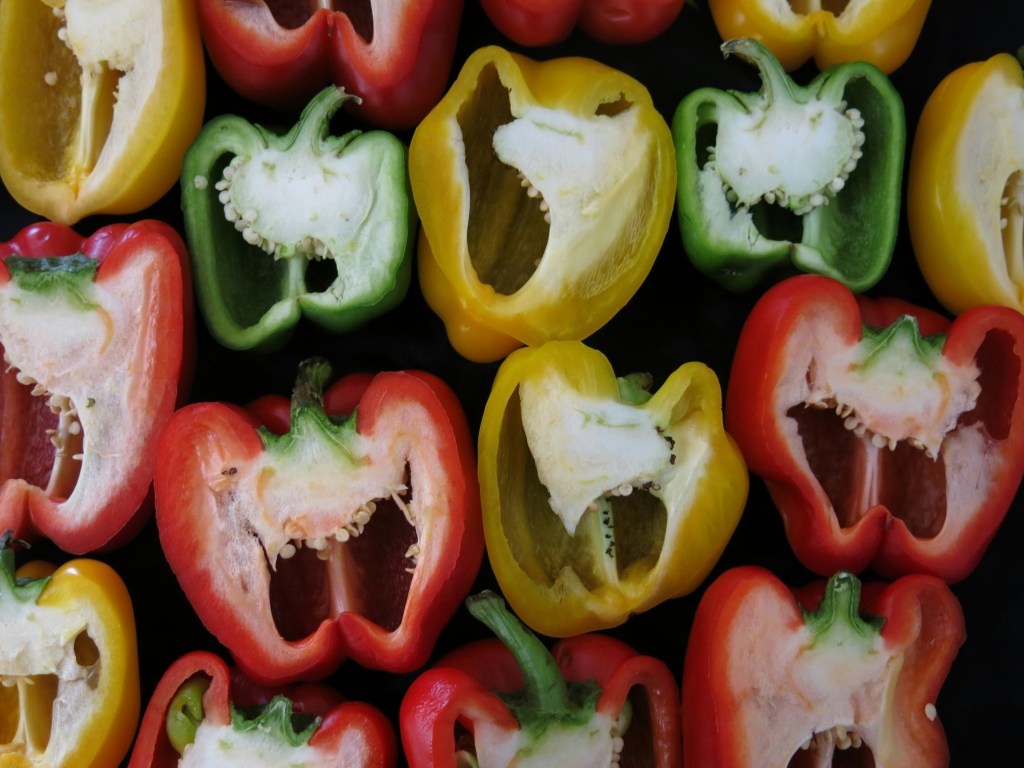
| Peppers | Easy | Remove seeds from fully ripe fruit |
| Beans | Very Easy | Let pods dry on the plant |
| Lettuce | Easy | Wait for flowering, collect seed fluff |
| Basil | Easy | Snip seed heads after they brown |
| Zinnias | Easy | Collect dried flower heads |
Side Note: Only save seeds from open-pollinated or heirloom plants. These will grow true-to-type (like the parent plant). Hybrid varieties (often labeled F1) may produce unpredictable results, or weaker plants.
How to Save Seeds – Step by Step
Let’s walk through the basics of seed saving, from harvest to storage.
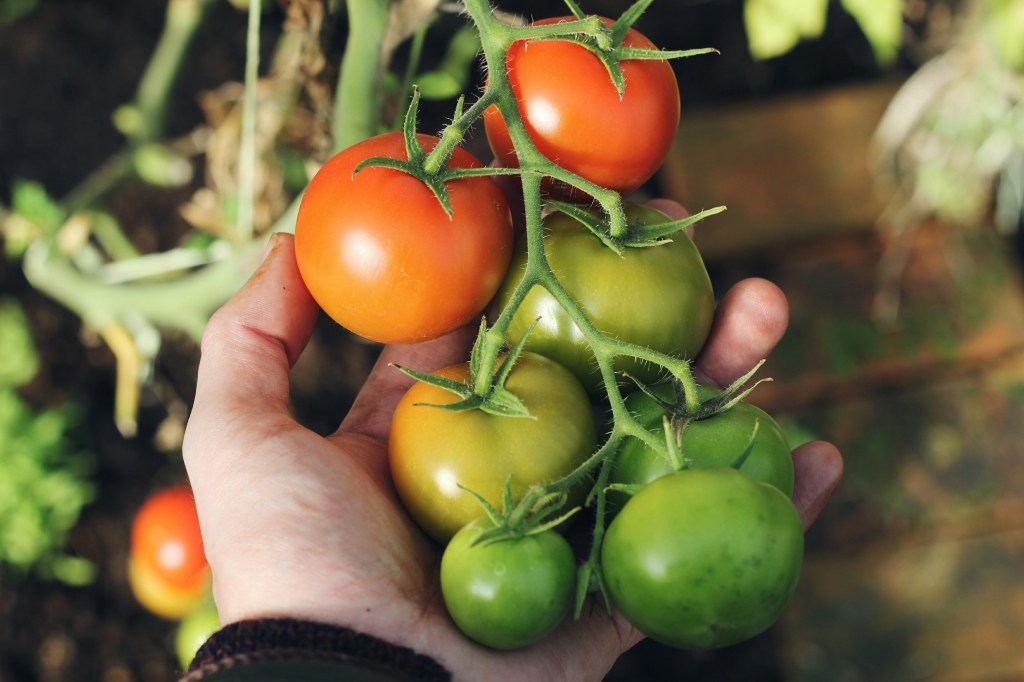
1. Let Seeds Fully Mature
Don’t harvest too early!
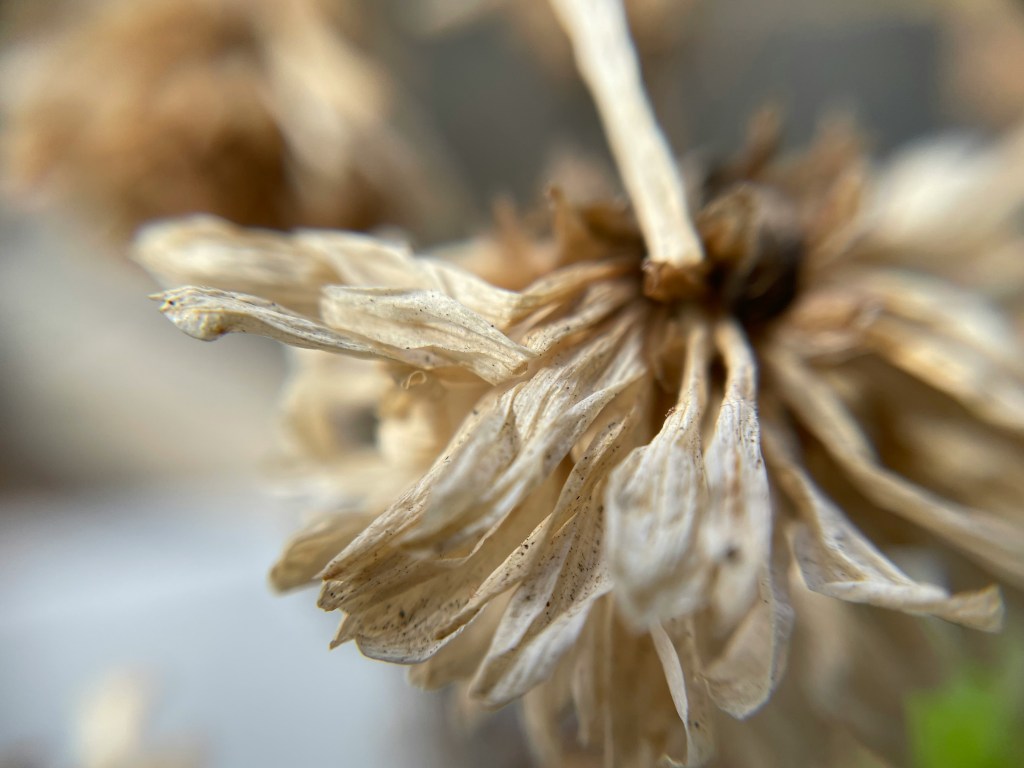
Let the fruit, pod, or flower dry or fully ripen.
- Dry Seeds (beans, herbs, lettuce): Leave on the plant until brown and crisp.
- Wet Seeds (tomatoes, cucumbers): Let fruit overripen; seeds will need to be cleaned and dried.
Make sure you use clean, dry hands or tools.
For wet seeds, scoop them out and place them in a container of water for fermenting (especially with tomatoes) for 1–3 days.
Then rinse and dry.
2. Clean the Seeds
Remove pulp, chaff, or debris from your seeds.
A strainer or sieve works well for small seeds.
For flower seeds, gently crush dried heads and separate seeds from the fluff.
3. Dry Thoroughly
Spread seeds on a plate or paper towel in a cool, dry spot out of direct sun.
Let them dry for at least a week (larger seeds may need longer).
If your feeling fancy you can use a seed drying rack like this one for your seeds.
4. Label + Store
Once your seeds are completly dry, label and store them.
Use envelopes, paper packets, or glass jars.
On your label include:
- Plant name & variety
- Date harvested
- Any growing notes
Store in a cool, dry, dark place.
A mason jar in the fridge or a small seed box in a closet works well.
And thats it!
Not too bad right?
Seed saving is a way to write your garden’s story into the future, season after season.
So next time you pluck a sun-warmed tomato or admire a dried sunflower head—pause. Collect. Label. And save a little magic for next season.
Happy Gardening!
Southernroostgarden.org is a participant in the Amazon Services LLC Associates Program, an affiliate advertising program designed to provide a means for sites to earn advertising fees by advertising and linking to Amazon.com. When you click on and/or make a purchase through a link to an Amazon affiliate link placed on our website, we may receive a small commission at no additional cost to you. All funds are applied to the operations of our gardens.
Save this for later!